- Home
- China
- World
- Europe
- Politics
- Business
- Opinions
- Tech & Sci
- Culture
- Sports
- Travel
- Nature
- Picture
- Video
- Live
- TV
- Specials

Share

Copied
With pubs and bars out of action, many beer lovers turned to homebrewing to quench their thirst during the lockdown.
Coopers, a global giant in the sector, said sales of its homebrewing kits shot up 60 percent year-on-year. And several stockists of ingredients and equipment including Brewstore in Edinburgh, Scotland and The Home Brew Shop in Farnborough, England, had to limit online orders due to demand.
I was one of those who decided to make my own. I like a pint of beer and thought, how hard can it be?
Well, it turned out to be a bit tricky.
It also turns out there are two types of home brewing – the sort you do from a kit with a tin of prepared syrup and then there's full-grain brewing, in which you do everything yourself. From scratch.
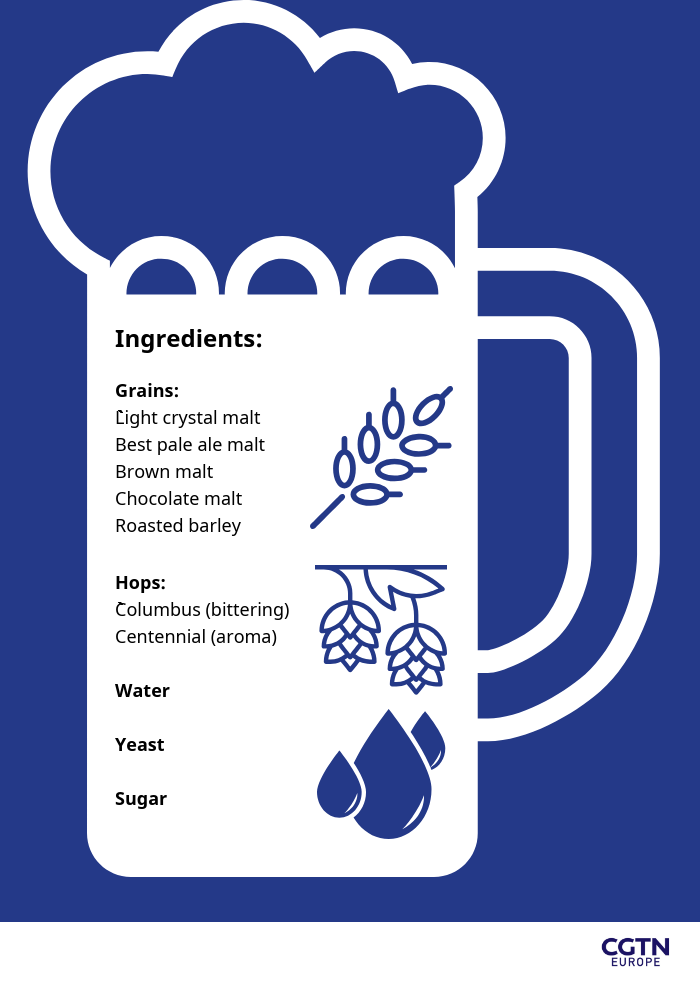
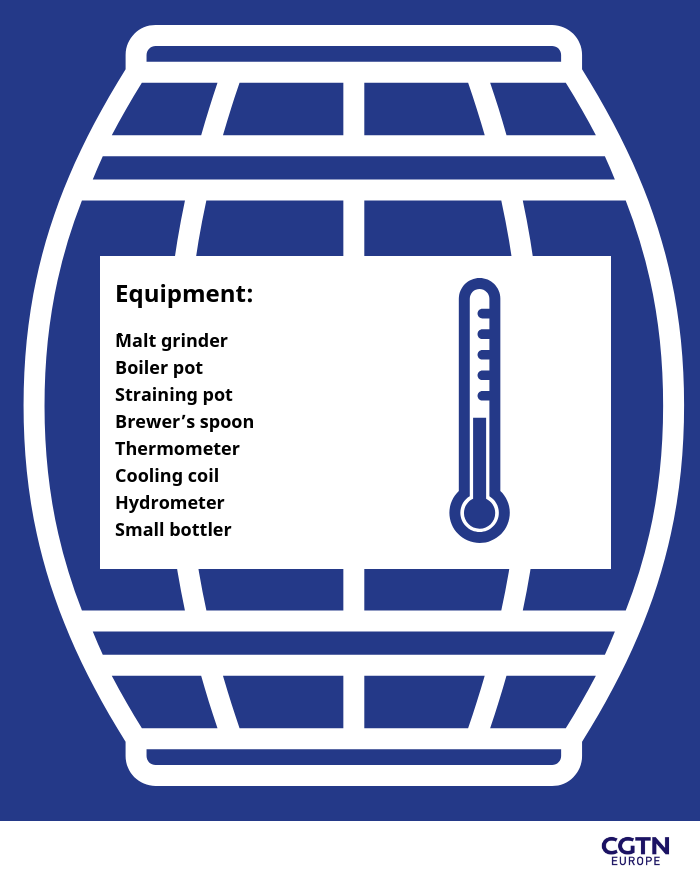
Always up for a challenge, I went for the full-grain option. This not only involves more ingredients, but also more kit. I decided to brew a porter, a dark, malted type of beer created in England.
So, how do you make beer?
Step 1: Grinding
You grind the grains to help them release sugars when you brew.
The trick is to crack them with your malt grinder and not grind them too fine. This part was more labor-intensive than I expected, taking me a couple of hours to get through my mountain of grains.
Step 2: Mashing
To create the "mash," you boil your cracked grains at various temperatures in about 25 liters of water. You use the boiler pot for this.
Step 3: Lautering
You now transfer the mash to your straining pot. It has an insert that separates the grain bed and the liquid. You place the boiling pot underneath, open the tap and let the liquid drain out. You then pour hot water over the grain bed to "sparge" it to extract the last of the sugars. The liquid you have created is called "wort."
Step 4: Test specific gravity
Test the specific gravity of the wort using the hydrometer. This is the ratio between the density of an object, and a reference substance – in this case the hydrometer and the wort.
This reading is called your original gravity or OG – you will need it later.
Step 5: Boiling
You now boil the wort for about 60 minutes and add the hops. I used hop pellets for ease, but full hop flowers can be used. You add the bittering hops early in the process to balance the sweetness of the sugars and add the aroma hops towards the end of the process for extra flavor.
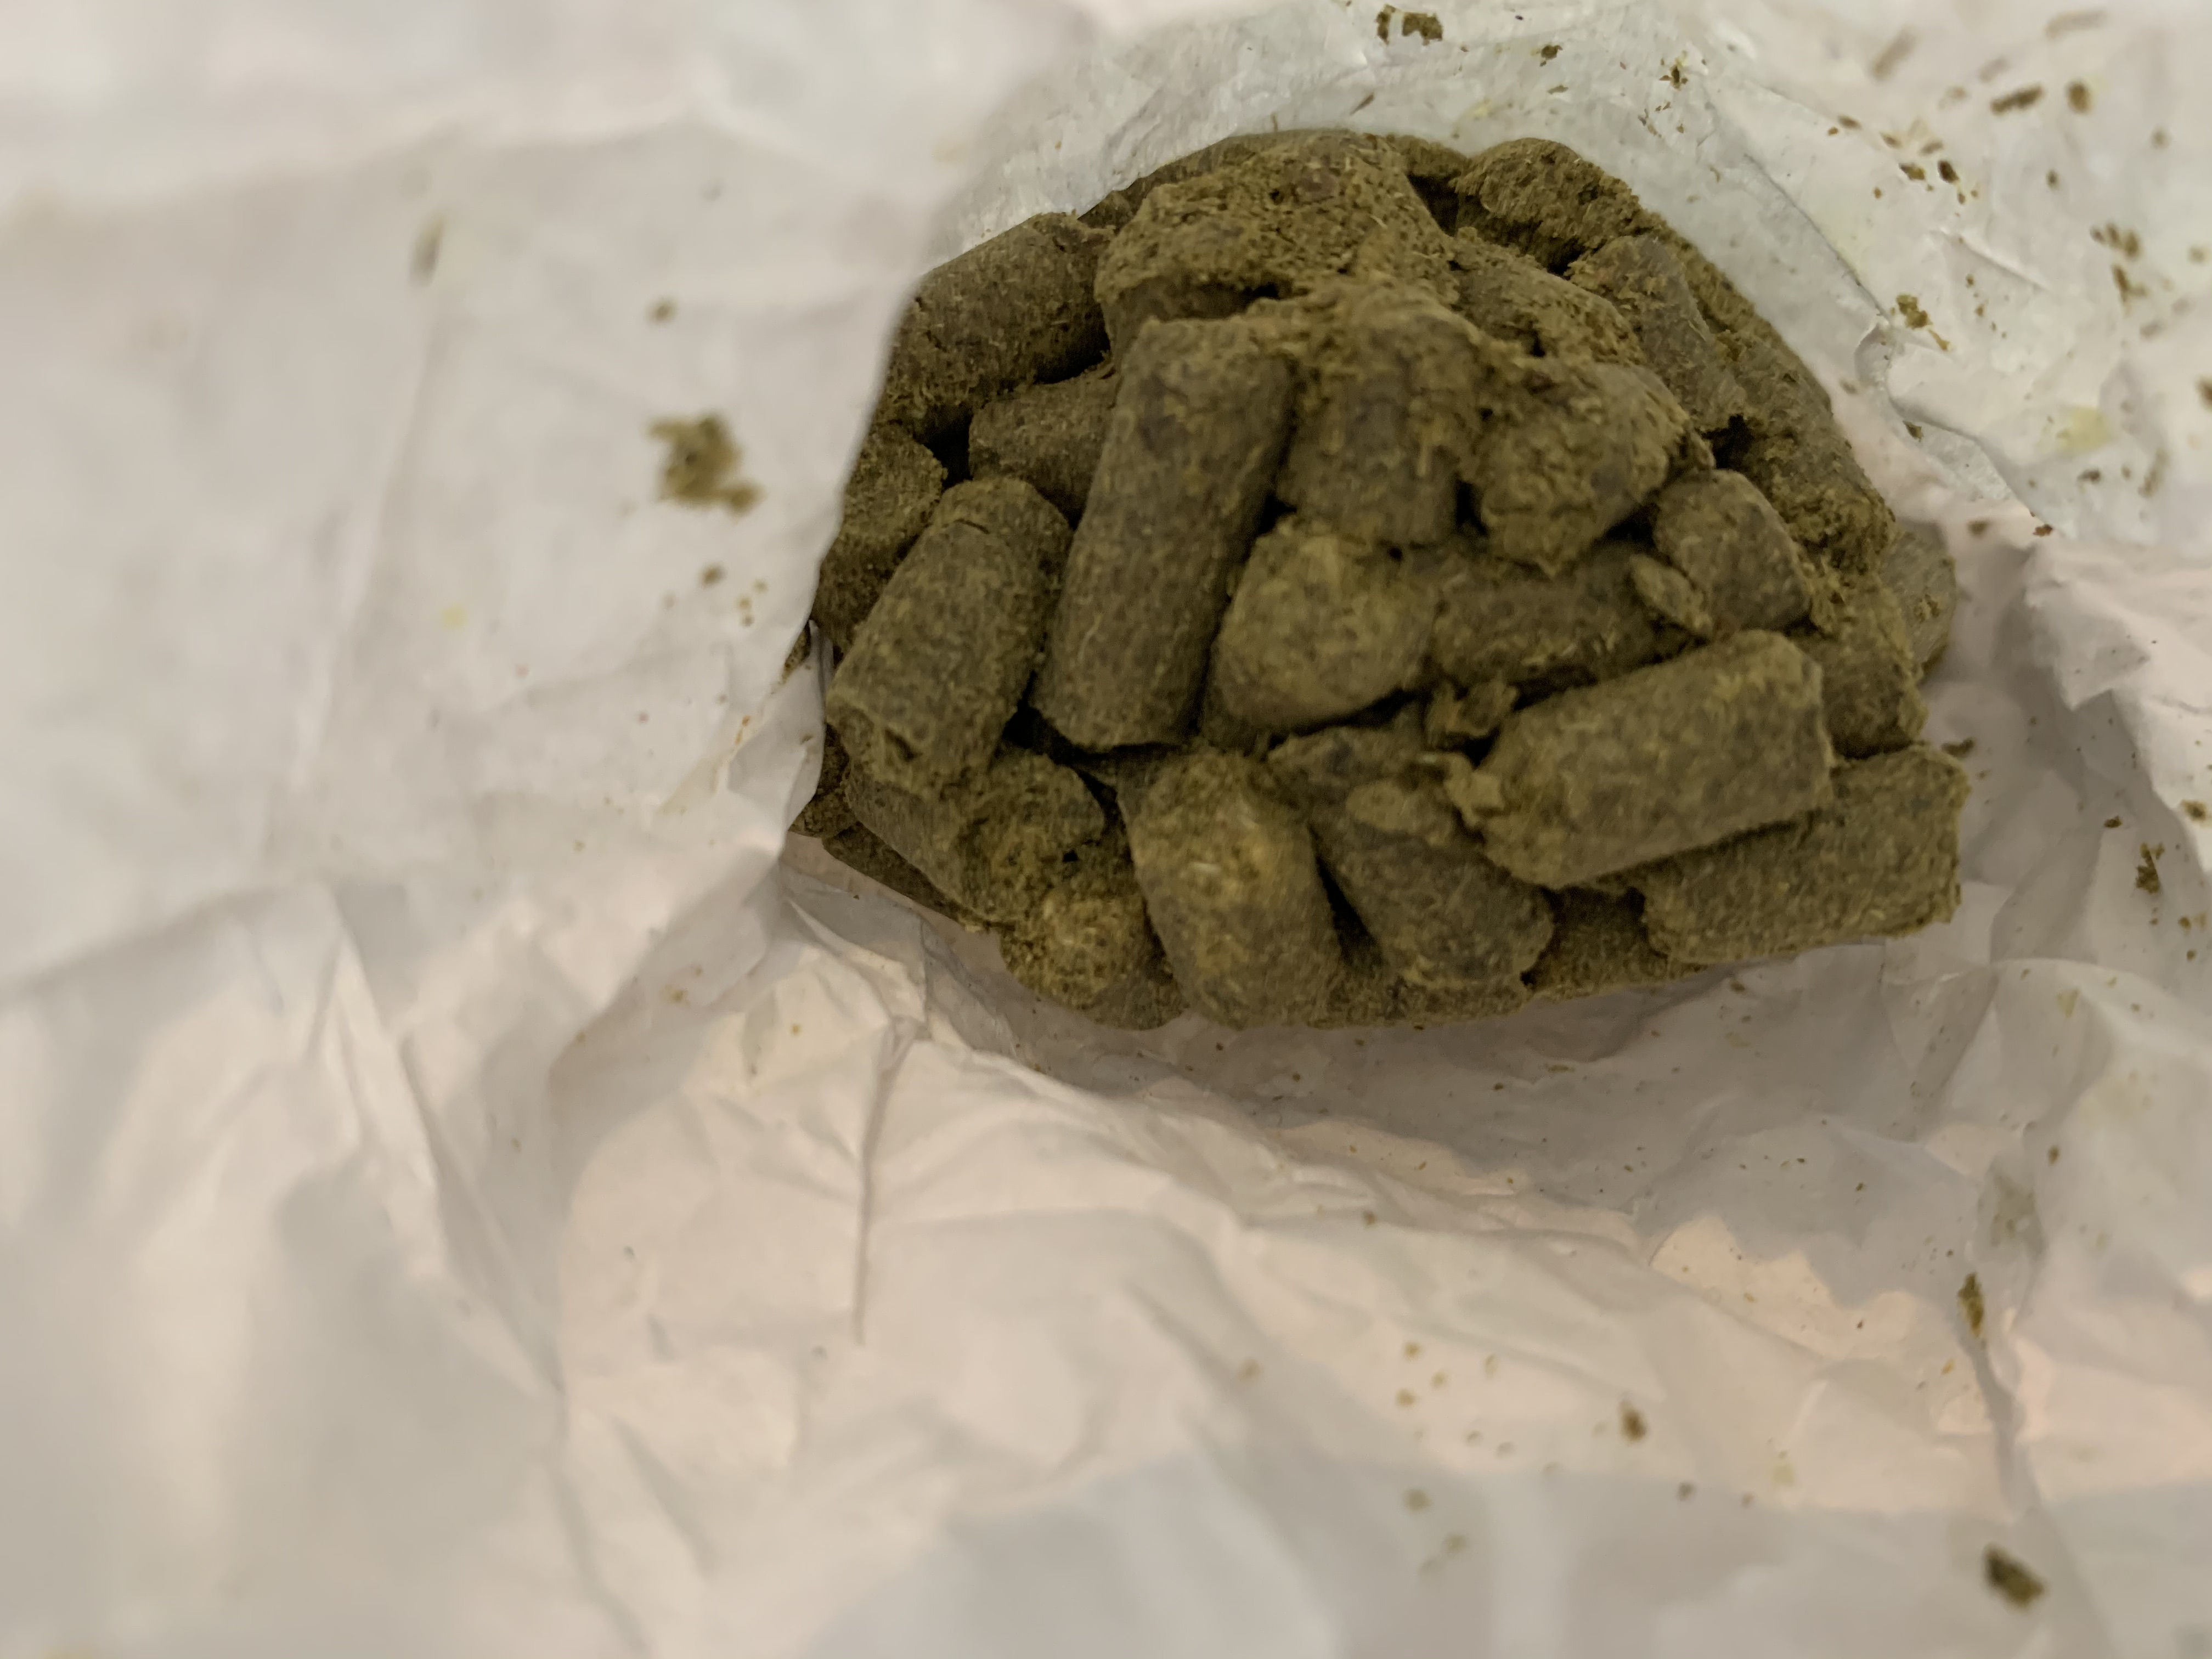
I used hop pellets for ease. They are added at the beginning and the end of the boil for bitterness and aroma. /Patrick O'Donnell/CGTN
Step 6: Cooling
You now have what is called "green beer," you need to transfer this to the fermentation vessel and cool it before adding the yeast, otherwise it won't ferment. To cool it I used a copper coil, through which cold water passes.
The brew will need to drop to a temperature between 22 and 24 degrees Celsius.
Step 7: Test specific gravity again
Test the specific gravity of the wort using the hydrometer. This reading is called your final gravity or FG. You can now work out the alcohol content, or alcohol by volume (ABV) of your beer by using the formula: (OG - FG) x 131.25 = ABV
My brew had an ABV of 8.5 percent.
Step 8: Fermenting
Add the yeast when cooled. Close the fermentation vessel and add water to the airlock.
Maintain the fermentation temperature at around 24 degrees Celsius for about two weeks.
After the first day, you should see bubbling in the air lock. This is CO2 being created by the yeast as it feeds on the sugars and turns them into alcohol.
Step 9: Bottling
You can now transfer your green beer to bottles for secondary fermentation. Add sugar to each bottle for carbonization and transfer beer to the bottles using a small bottler, a pipe that allows you to control the flow of beer from the fermentation vessel.
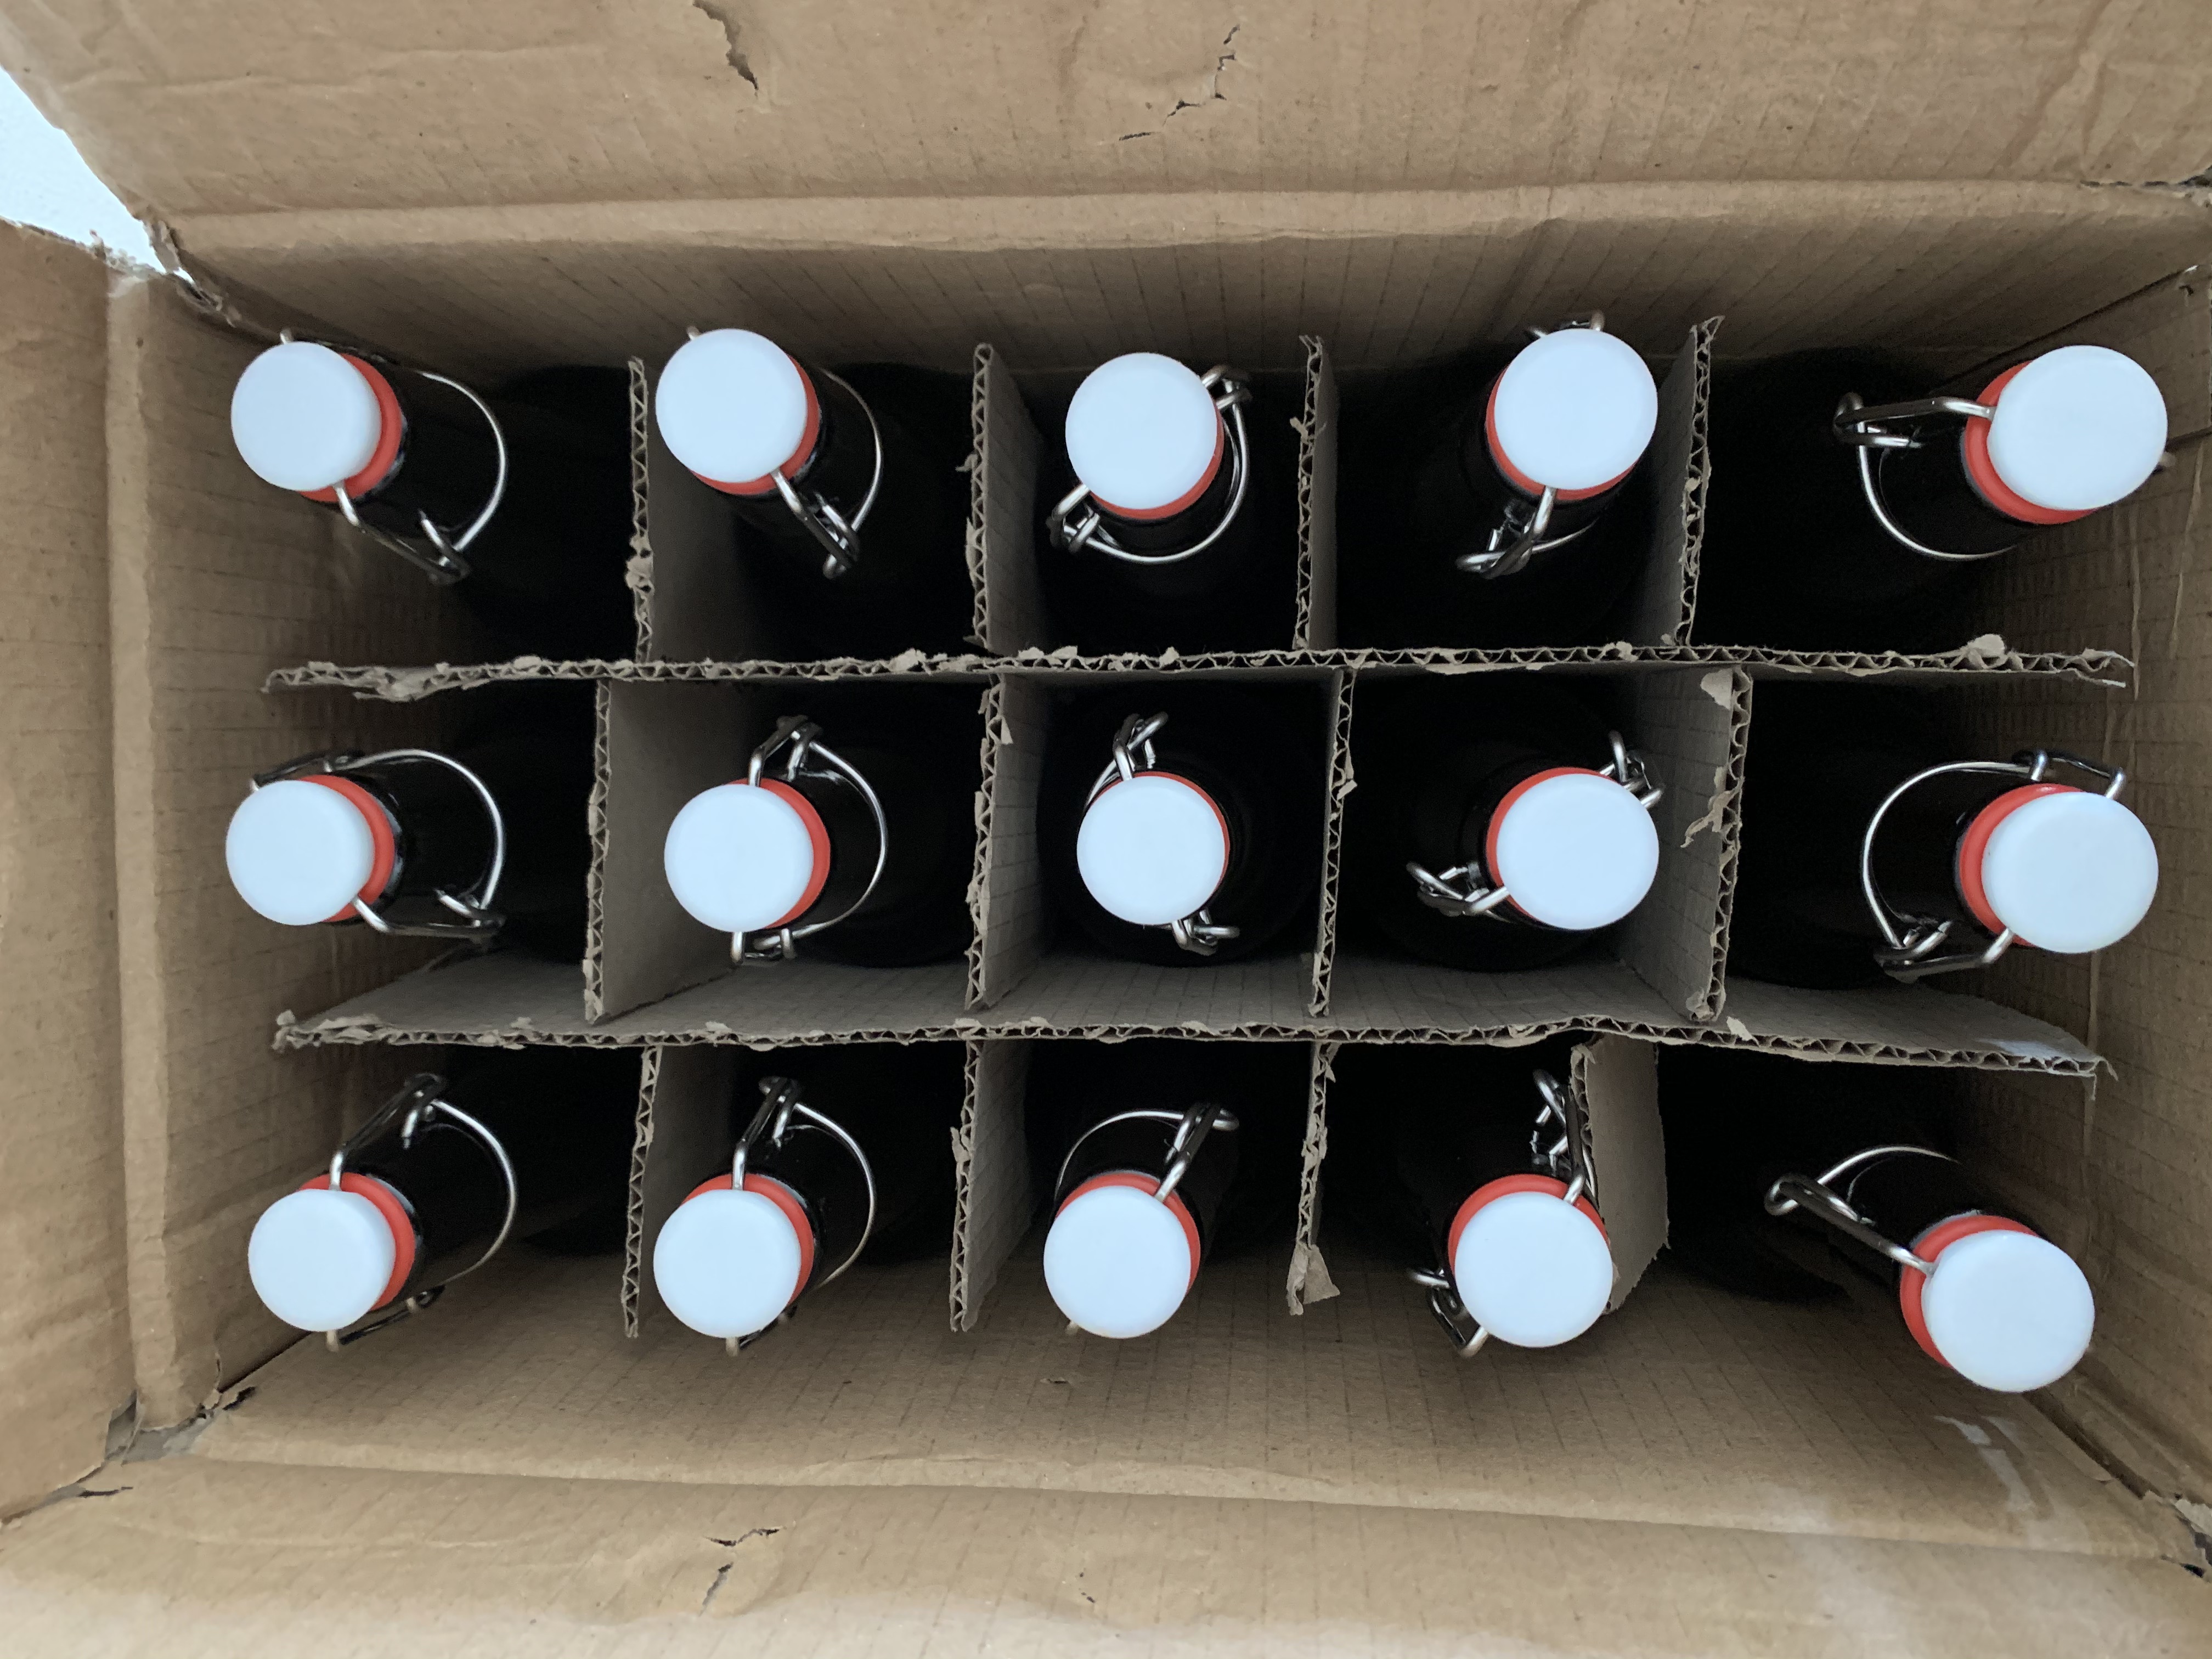
After bottling, you need to store your beer for a further three weeks. /Patrick O'Donnell/CGTN
Step 10: Second fermentation
Store the bottles at about 24 degrees Celsius for another three weeks to mature the beer and turn more sugar into alcohol.
Step 11: Drinking
You can now enjoy the fruits of your labor – hopefully a nice, smooth brew. Mine worked a treat. It's a rich, dark porter with notes of coffee and chocolate.
So, the initial brewing process took me about eight hours and then the bottling took another couple of hours and then there's all the waiting and washing up etc... Was it worth the effort? You bet – I'm now planning my next beer, possibly a brown ale. Cheers!